3D Paper Snow Globe
by Jenna Gleason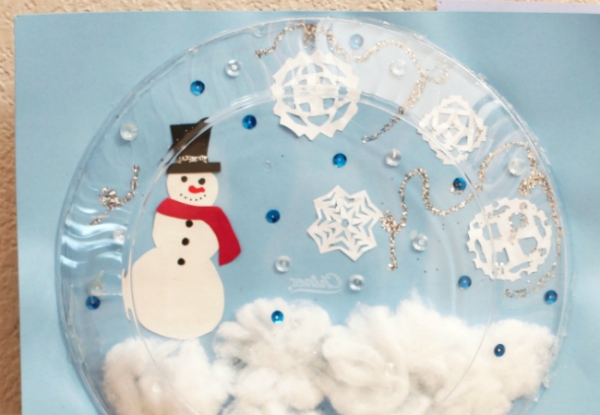
This craft requires imagination! Keep your kids busy, and using their brains this winter break with this 3D Paper Snow Globe Craft. Make their snow globe drawing come to life with just one simple object.
Materials:
Paper
5-8 Cotton Balls
Glue
1 Clear Plastic Plate
Optional:
Glitter
Beads
Sequence
Paint
##adbig#
Directions:
- On a piece of paper draw an outline of the clear plate where you want it on your paper. Draw the base of the snow globe and what you want the theme to be such as, “Baby It’s Cold Outside” , “It’s 2018!”, “KEEP WARM and SNUGGLE ON”, “Frosty the Snowman” etc.
- Buy or cut out mini snowflakes that will fit within the circle. Place aside for later. Separate or stretch out your cotton balls and set them to the side tas well.
- Make your snowman! I used paper so it was a movable piece that could be glued on later but you can draw it on too.
- Then leave it to the kids! Let them decorate the snow globe with elmer's glue and all the pieces you made. I set out the cotton balls for “Snow Piles”, Snowflakes, Sequence beads for “Snow” and the snowman!
- Once they finished ask of they want glitter! It gets messy so I would suggest doing it yourself.
- Once it’s officially done, glue the plastic clear plate upside down where you sketched it out earlier. This will create a dome effect like a real snow globe! Then your done!

Jenna is a staff writer and production assistant at Creative Child Magazine. She is currently attending University of Nevada - Las Vegas.
1 of 1
You might also like.


Join Our Newsletter
Want more? Follow us.

Join our newsletter and get the latest updates!